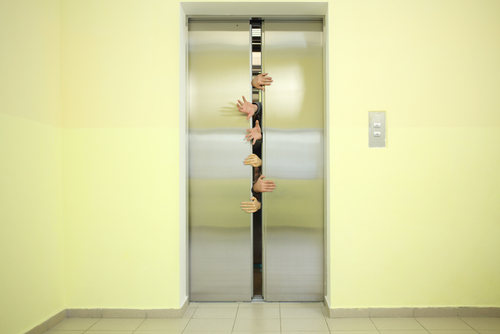
8 Effective Elevator Safety Tips
July 12, 2022
What is an Elevator Machine Room?
October 3, 2022How To Fix Flickering Lift Lighting?
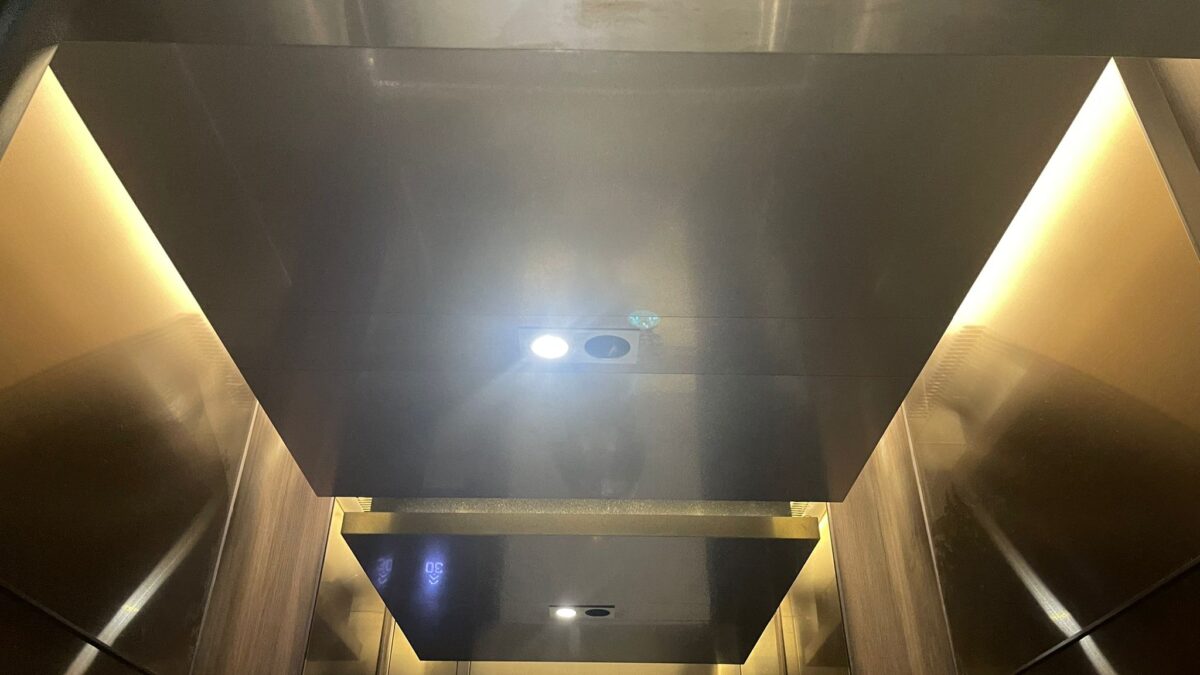
How To Fix Flickering Lift Lighting? Lift lighting is great for adding extra ambiance and making your life feel a little cozier, but it can be irritating if they start blinking or flickering on and off. This is because the light in your lift is controlled by a dimmer switch, which can be wired or wireless.
When the dimmer switch starts to have issues, it affects how much power the lift light gets, resulting in an inconsistent glow (or no glow at all). Luckily you can fix this problem! By following some of these steps below, you’ll be able to fix any flickering LED lights in no time.
Fix Flickering Lift Lighting
Step 1: Take a Second Look
If your lift light is flickering, it’s time to look closer. The first thing to do is ensure that the dimmer switch is working. Please ensure you have power at the circuit breaker and that the wires are securely attached to the dimmer switch itself. If you’re unsure, don’t worry! A replacement can be sourced on eBay or at your local electronics store.
Step 2: Installing a New Dimmer
If you’re replacing a dimmer switch installed on your wall, you’ll need to adjust the wires to connect it to the new dimmer. This doesn’t sound very easy, but it’s relatively simple. You can run a wire from screw terminals on the old dimmer through your circuit breakers and into your new switch.
All you have to do is ensure that all the wires are correctly connected and fastened around the switch itself. Once your wires are securely fastened, contact the terminal screws on the new dimmer and tighten them down to hold everything in place.
Step 3: Mounting the Light for Good
Lift lights are designed to be mounted onto your ceiling, but this isn’t always the best option. You may need a dimmer that can be installed on a wall instead. You can get rid of that flaky light using a wired or wireless switch by installing it directly into the wall. By following these simple steps, you’ll have a lifting light that’s highly energy efficient and reliable.
Step 4: Get Your Lift Light Working
Once you’ve installed the new dimmer switch into the wall, it’s time to mount your lift light. Using a wireless dimmer switch, you must set up the receiver and mounting plate so your lift light will connect with it properly. To make this job easier, pick up a prewired light that includes everything you need to install.
First, remove the old light from its previous location and then slide the new light into place. Then follow any included instructions for proper assembly of your LED lights. When you’re done, enjoy your new lights!
Step 5: Keep Things in Working Order
Your lift lights should now be able to glow as bright as you want them to, but it’s essential to follow some regular lift maintenance to keep all of your electrical equipment working correctly. Ensure that the wires are fully connected and that the connection between the lift light and dimmer switch is secure. If this equipment starts acting up, follow these steps again.
Step 6: Cleaning Your Lights
If you’re tired of a dirty and cluttered-looking lift light, this is the time for you to clean up your life. To properly clean your lights, you’ll need to remove the cover to access the contacts or terminals. You will also have to remove any dust or debris from inside the fixture itself and remove any old light lens covers. After you’ve cleaned everything, reassemble and put the cover back on.
Step 7: Test Your Lights
There’s no point in cleaning your lift light if it doesn’t work correctly after you put all the pieces back together. Once you’ve finished, plug it in and ensure it’s working correctly.
Make sure you test that the lights will come on and off when you want them to, as well as adjust their brightness depending upon what color/level of illumination you need. If everything seems to be working perfectly, then congratulations! You’re done! If not, try troubleshooting these issues one at a time until your lift lights run smoothly again.
Step:8 Cleaning the Lights
To clean your lift lights, remove them from their mounting plate and wipe off any dust with a soft, damp cloth. You may also want to take out the battery cover to reach any internal contacts or terminals that might be hard to reach, but it’s much easier to clean off with a simple wipe-down.
To prevent dust buildup in the future, always place your lift lights in a location that won’t accumulate much airborne debris or humidity. A dry, cool place is ideal!
Step: 9 Reset the Switch
If your lift light still has problems after following all these steps, it’s time to reset it. You’ll need to remove the battery cover and disconnect the power supply from the terminal screws to do this.
Wait for about 15 seconds and then reattach the power supply. Your lift light should now be ready to go. Repeat this if your lift light isn’t functioning correctly after a couple of hours. If the problem persists, your lift light may be more severe than a simple reset. You will have to replace the lift light.
Step: 10 Replace the Light
If you decide to buy a new light online, follow these steps to get the new light working again in no time. First, you’ll have to obliterate your old light by unscrewing and removing the mounting plate and any connected wires.
Remove old lens covers and screws that hold the unit in place. Once all of this has been taken care of, connect your new lift light into place and follow these steps one by one. If it’s not working correctly, you may need to replace it with a different model or ensure you’ve installed everything correctly.
How To Fix Flickering Lift Lighting? – Conclusion
When finding the best lift lights for your home, you can’t go wrong with any of the lights reviewed here. They’re very energy efficient and will save you significant money on your electric bills each month.


